Well, been out of town many weekends, and was keeping the car together for that Marshall rallycross (what a nice day that was!) but with some time available I've finally been able to do some heavy lifting on the car. Of course, actually doing the work is a lot harder than just recounting the list...but:
1) Removed dash (clearly for the first time ever! previous owner had left it in when building cage...) and cut out the embarrassing door bars

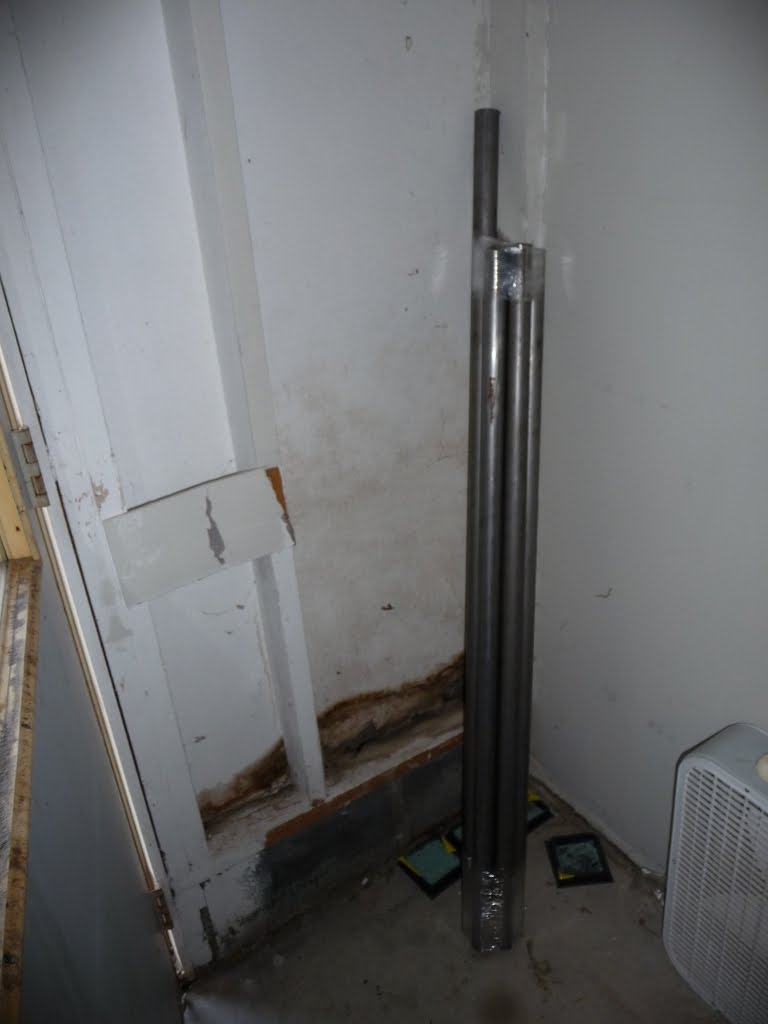
2) Bent and fit tubes for dash bar and new door bars. Wow, metal prices are high now. Also, there's little more satisfying than bending tubes accurate to within a degree with a manual bender. Thank you Matt of Bentmettle for drinking beers and leashing ducks for a day! (and helping me fit tubes a bit).

> $200, but can be shaped into awesome not-kidney-impaling-in-crash door bars and a dash bar (dash done now, only door gussets t0 do). I am really happy with the way they're fit - difficult to tell, but the tubes are offset bent, not intersecting, and are welded together along 6inches under the gusset.

So my workspace is great, but I was still driving the car around with no dash to bend and fit tubes, and later to take advantage of Kenneth's available TIG welder (and awesome welding). It got to a point where I was getting concerned about the amount of gas in the tank, I didn't have any gauges. Pretty fun to drive a car like that though, and to really get the full effect of a simple machine, in this case with a small exhaust leak, so the effect I got was of a ride-on lawnmower...
Unfortunately, I also didn't have gauges to tell me that the alternator was fried. So on my way to work last monday, where I was going to finish welding that afternoon at Kenneth's, the car ran out of electricity. I called Matt with the biggest favor of my life at 8:15am, in the snow (yes, we're in Michigan.) And he saved my ass off the side of the highway. That night, driving home on a charged battery I felt the 'range anxiety' of an electric car! But that medium-sized AGM battery shown in the other posts was a champ, running my car AND headlights for a 10+ mile, 15+ minute drive without apparently struggling at all. I think that the alternator froze during the rear suspension change at snowdrift and then the battery powered it for 15miles of a 20 mile transit that night as well. So very happy with the battery, and the size choice greater than necessary than just starting the car.
And now I'm digging a hole for the best. The engine's coming out.
Rally Ready List:
1) Clean wiring (two words but big ongoing job, hooray weatherpack connectors)
2) Machine strut top plates with additional caster (camber done at the knuckles with eccentric bolts) and spherical bearings, weld to strut tops and cage for reinforce and fix my surprisingly round stock strut tops
3) Rebuild (clean and seals, no revalve) front Bilstein inverted struts
4) Get necessary gauges (obtaining used Audi gauges, VDO oil pressure, oil temp and voltmeter)
5) Set up 9A 2.0L with good clutch and gauge senders, inspect and pull pan, install metal baffle plate. Fix up engine wiring harness, put the best parts from 3 CIS-E systems together for fueling... Get new coolant hoses as necessary
6) Install 2L, install header (beautiful supersprint 4-2-1 stainless, 16 years old used)
7) Install 2002 china-market Chery mechanical HVAC heater core and flapper unit (awesome find, thanks Matt!) to fix heat and also eliminate vacuum lines to the cabin
7) Plumb and run 2L! Please work...
8) Reassemble dash with new gauges
8) Fabricate exhaust header back, with cat at rear in place of muffler
9) Button up car, reassemble and race with 2x current torque under 5000rpm (that's the plan...)
10) Paint & graphics?
So it's a lot to do. Transmission work is notably absent, so open-diff (got a great turn-in!) for now. Gripper differential will be ordered soon, but it's got a 6-week lead time. The trans can be dropped later, and without affecting engine (will be the 3rd transverse motor car I've done THAT on) for diff and final drive. Hm. Exciting.

 Yeah, that's the kitchen counter. I have a cool fiancée.
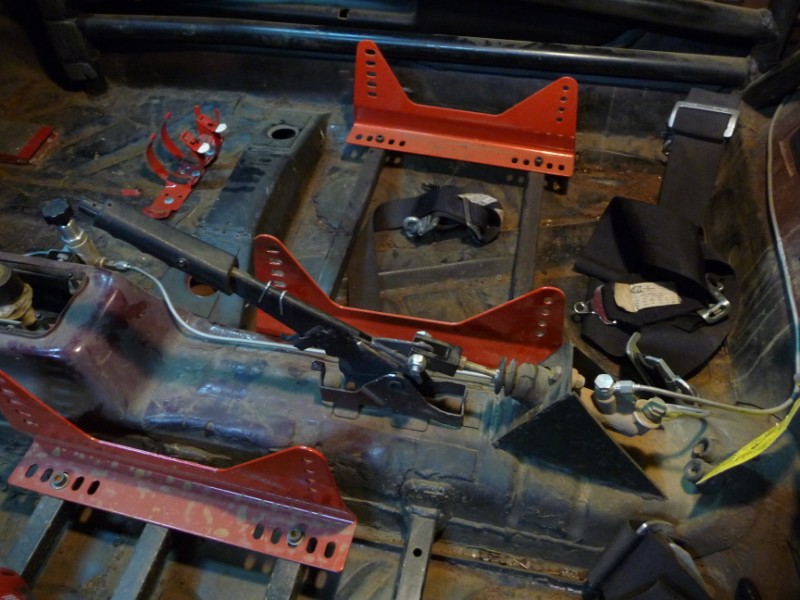
 And these are just on the dining room floor...
 I sure hope these things work!
 I sure hope these things work!